Updated 8 October 2026.
What are EmDash themes?
EmDash themes are Astro sites with the CMS configured inside them. The official theme documentation describes a complete project: pages, components, runtime configuration and an optional seed for the initial content model. You edit the project files to change the design; content is managed through EmDash. For an introduction to the CMS, read What is EmDash?
Where to find EmDash templates
The official starter templates include blank for an empty shell, starter for basic pages, blog for publishing, portfolio for projects and marketing for block-based marketing pages. All have Node.js packages; starter, blog, portfolio and marketing also have Cloudflare variants. The documentation gives the installation commands for each target.
The Astro theme directory is another place to browse designs. Read each theme’s CMS and installation requirements before choosing it for EmDash.
Peachfin’s 40 Astro themes include optional EmDash support and start with plain Markdown. Choose by the content you need: projects, articles, services or products. Keep Markdown if editing files suits you and you want a static site. Choose EmDash when you want an admin for content and can maintain the server deployment.
Peachfin’s EmDash-ready Astro themes
The Astro Pass includes all 40 themes for $99 USD once, with unlimited personal, commercial and client sites and six months of email support. Each theme is also sold separately.
Portfolios and creative studios
Monograph uses a photographic project index; Pinkline suits a creative studio, and Daybreak organizes photography into series. Object Studies focuses on materials, Wildstem pairs photographs, and Public Record and Circuit Works use numbered project or build sheets.
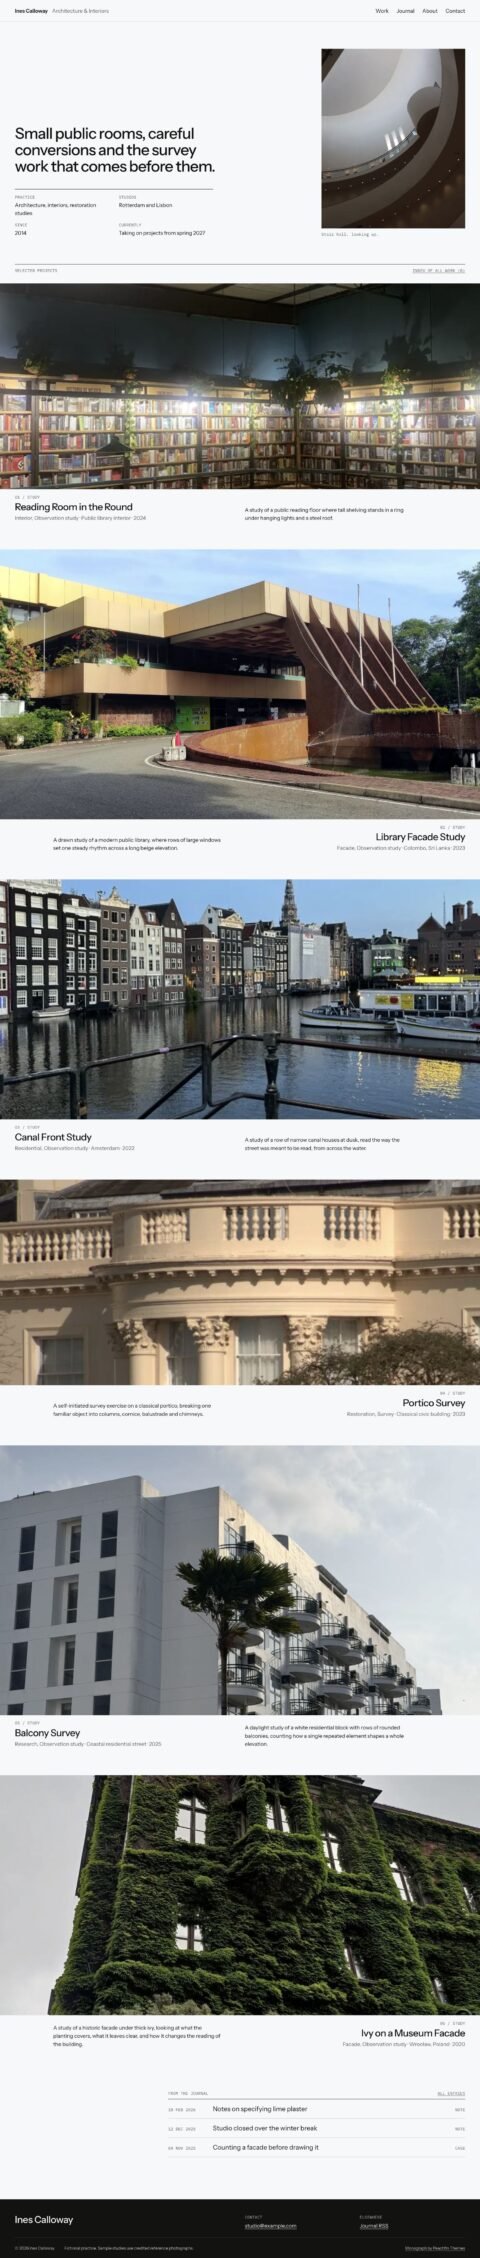 MonographDesign portfolios with a photographic project index
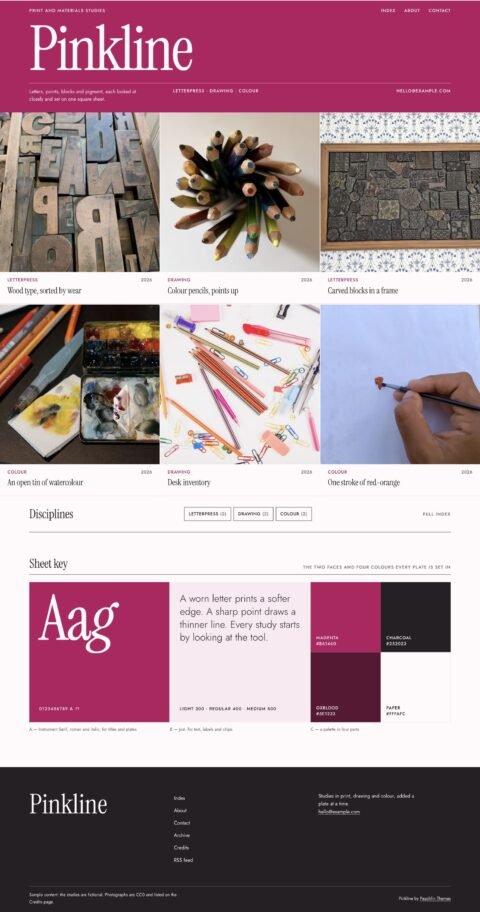 PinklineCreative studios with a specimen wall
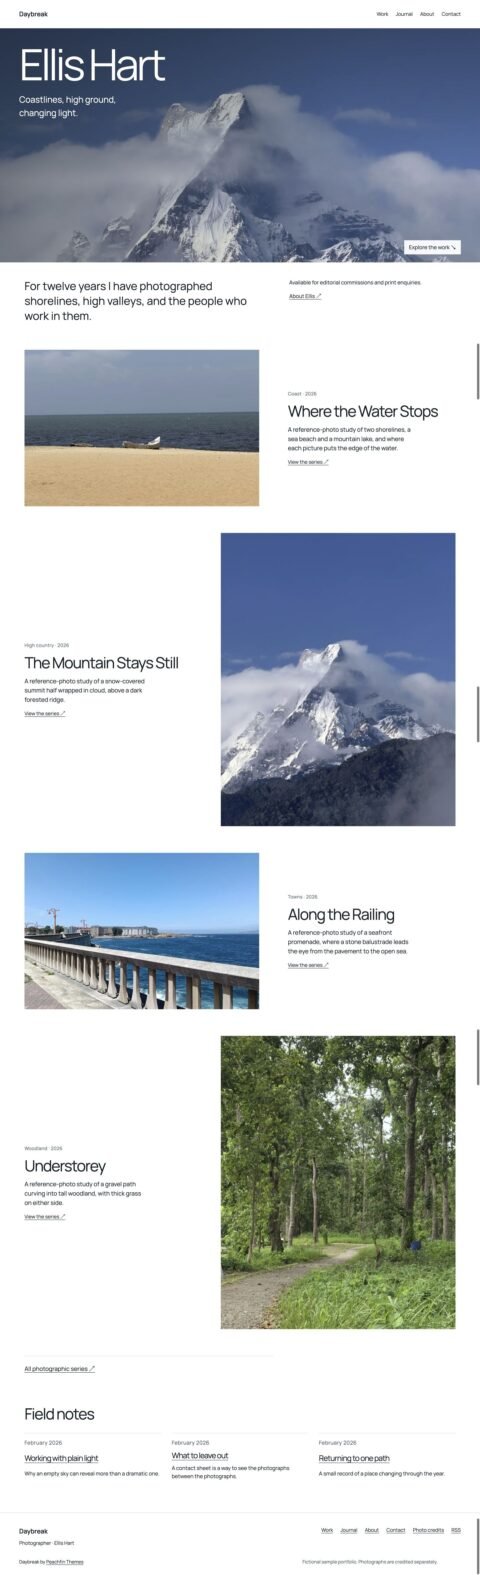 DaybreakPhotography portfolios with image series
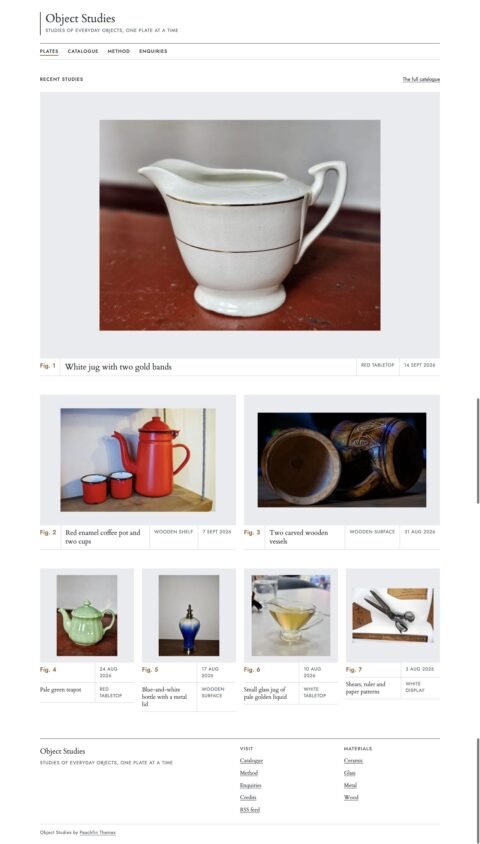 Object StudiesObject portfolios with material catalogues
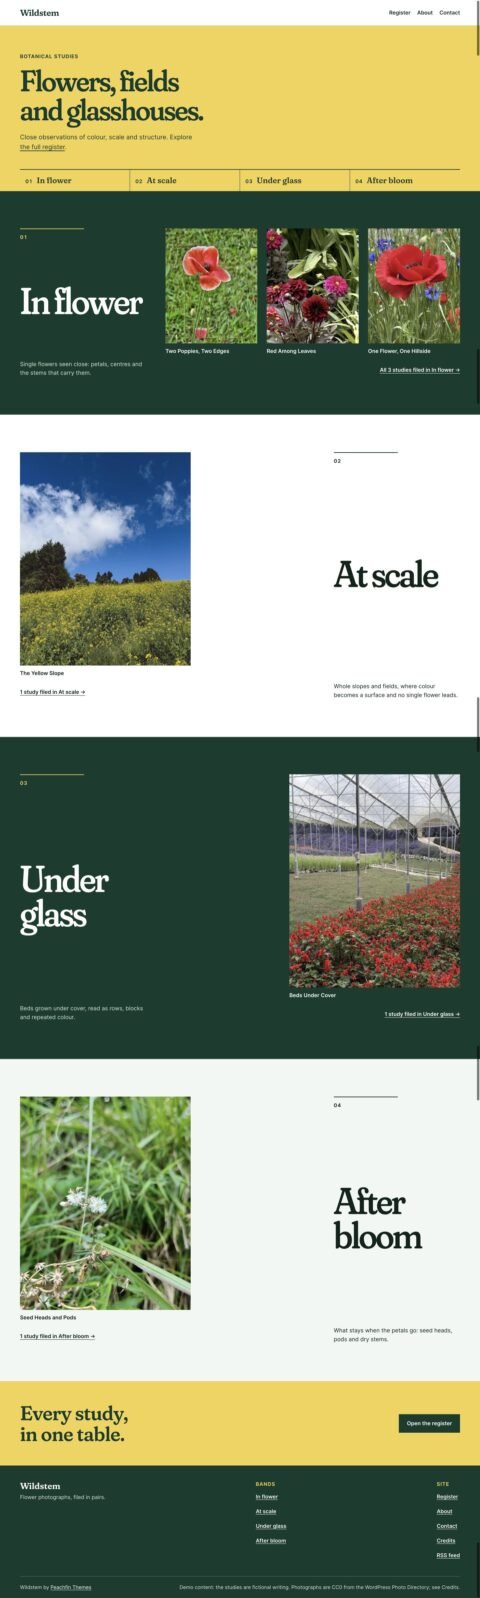 WildstemVisual portfolios with paired photographs
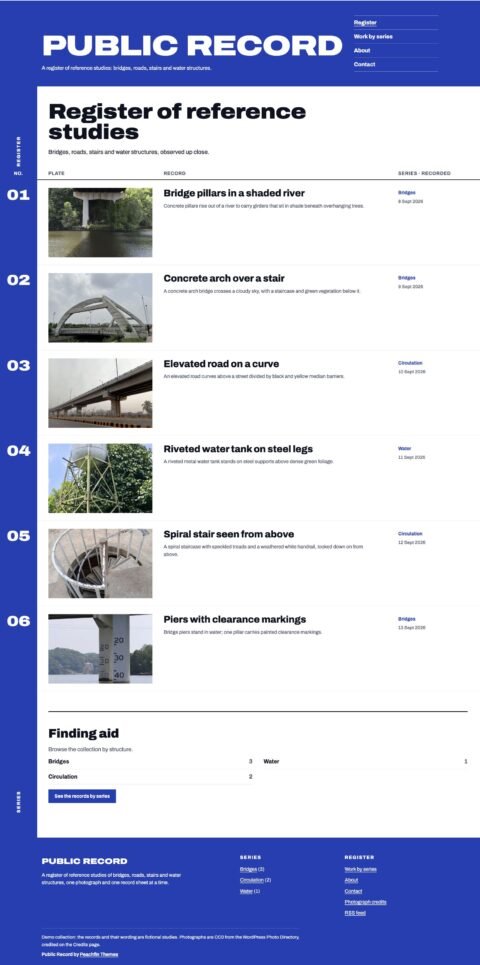 Public RecordProject portfolios with numbered record sheets
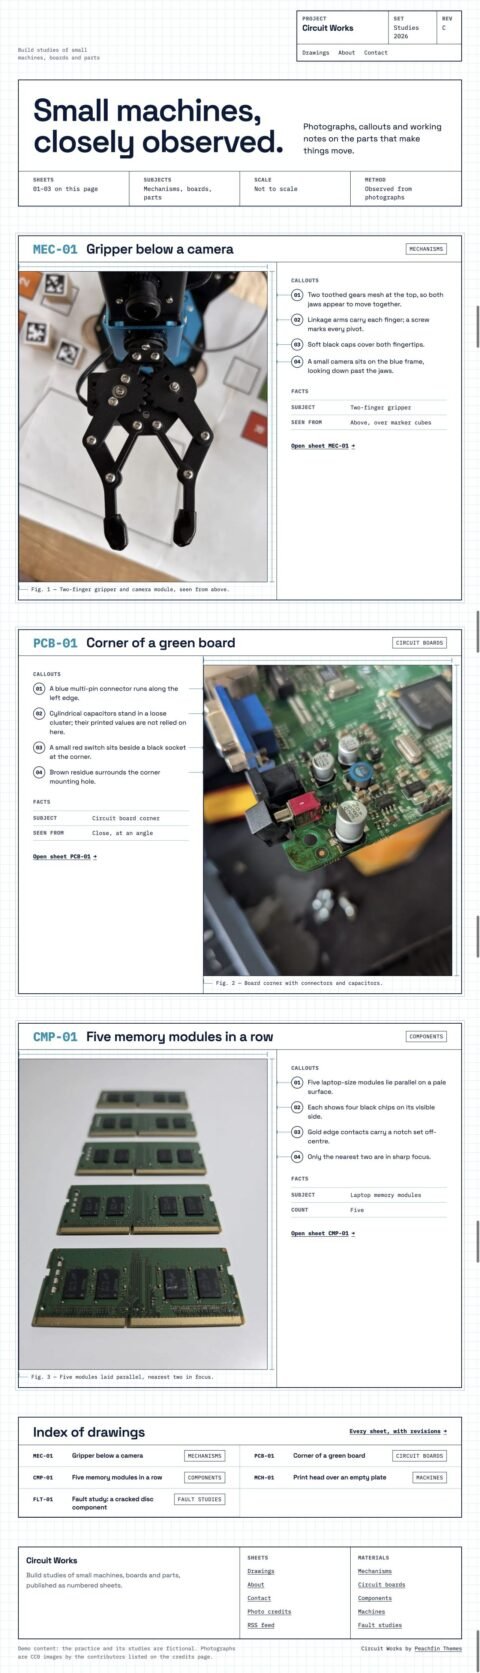 Circuit WorksMaker portfolios with numbered build sheets
Blogs, journals and magazines
The Dispatch is for photographic cover stories, Side Quest for dated journal entries, and Open Tabs for panoramic lead stories. Field Manual suits step-by-step guides; Common Hours uses chapter indexes.
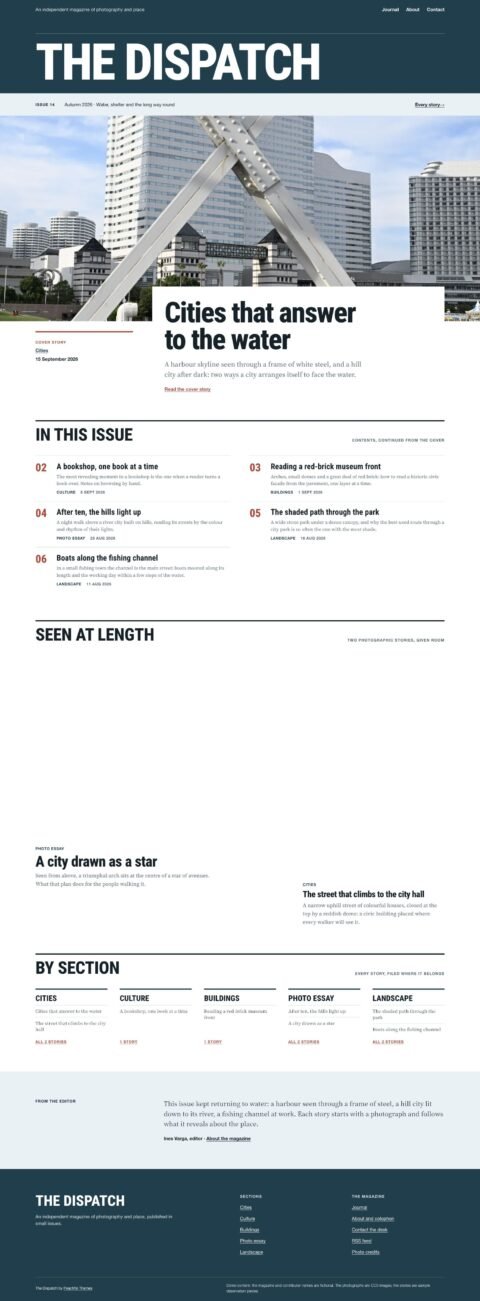 The DispatchPhotographic magazines with cover stories
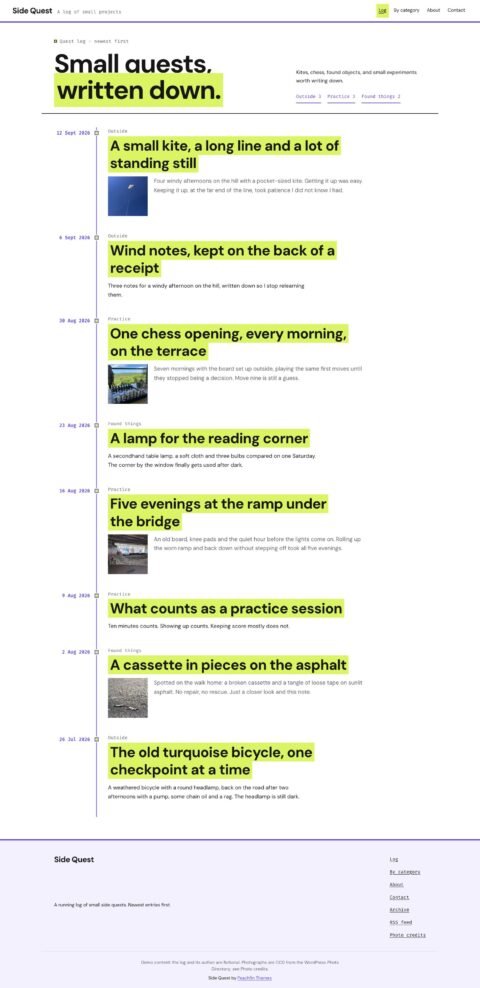 Side QuestPersonal journals with dated timelines
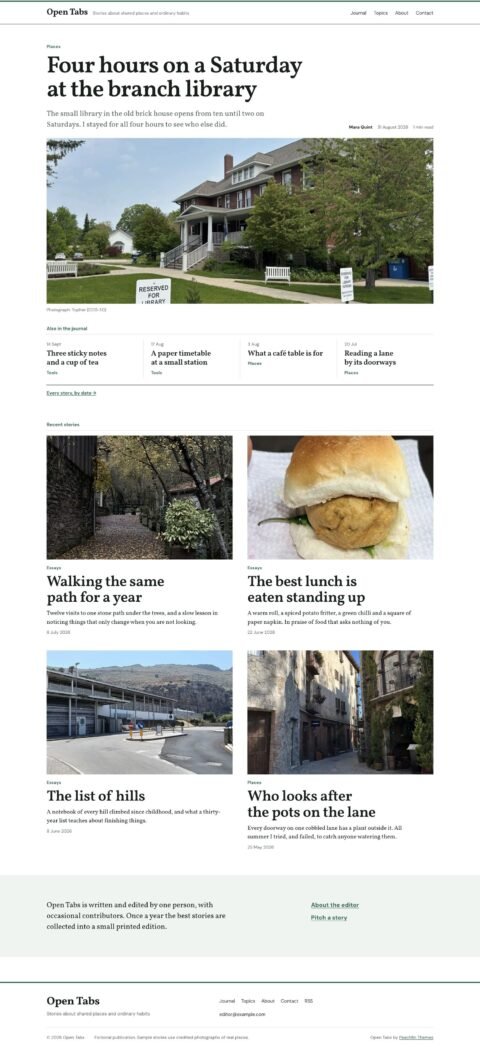 Open TabsEditorial journals with panoramic lead stories
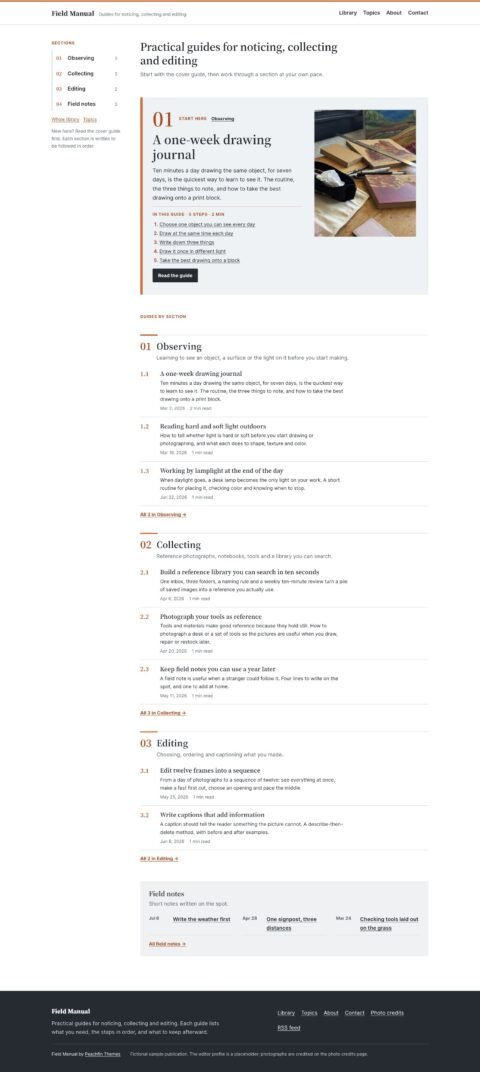 Field ManualGuidebooks with clear step by step articles
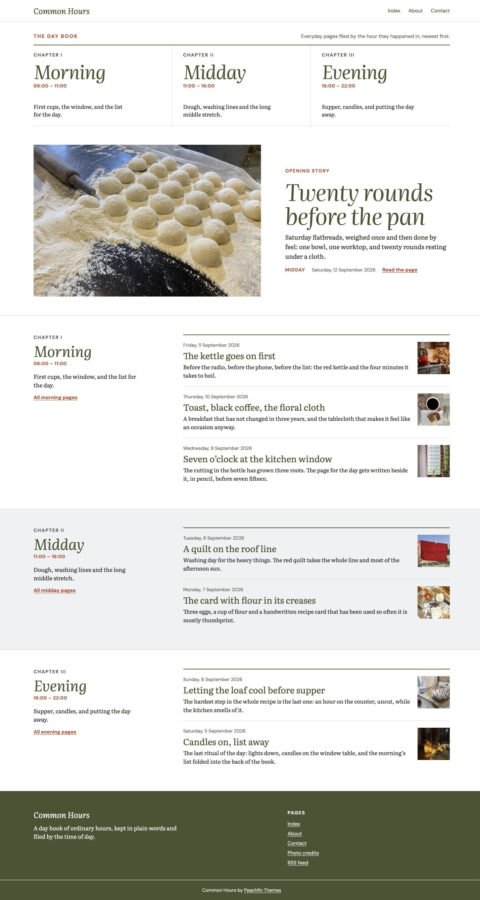 Common HoursPersonal blogs with chapter indexes
Business and product sites
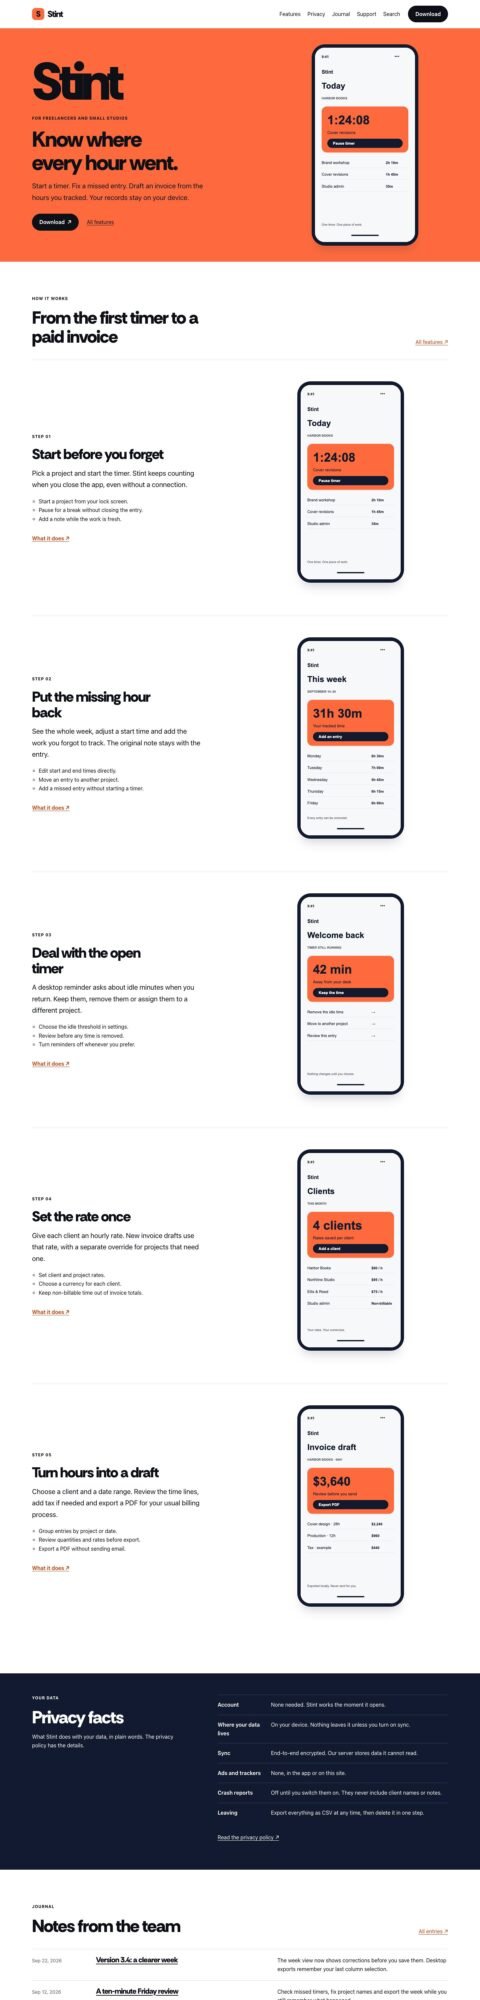
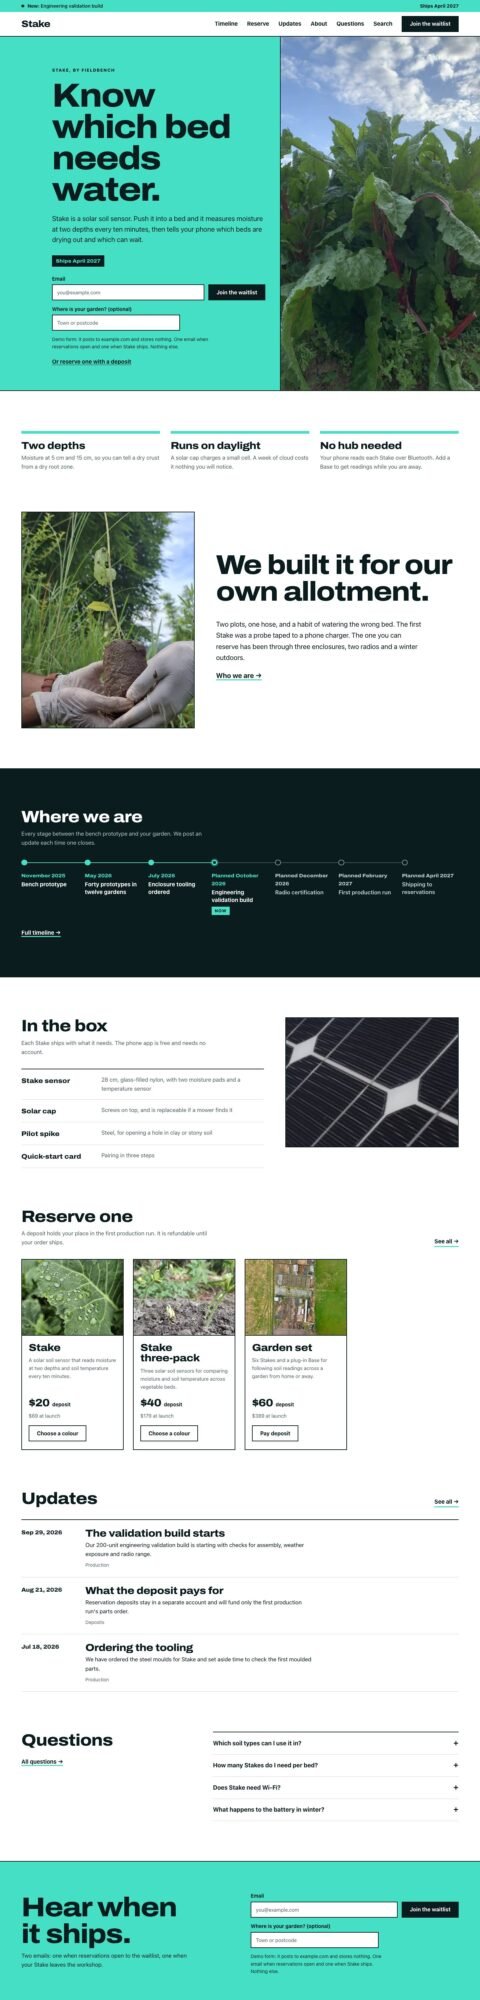
Brief presents agency case studies, while Signal organizes service packages. Spec is for product features and plans, Pocket for app device tours, and Soon for a launch with a waitlist.
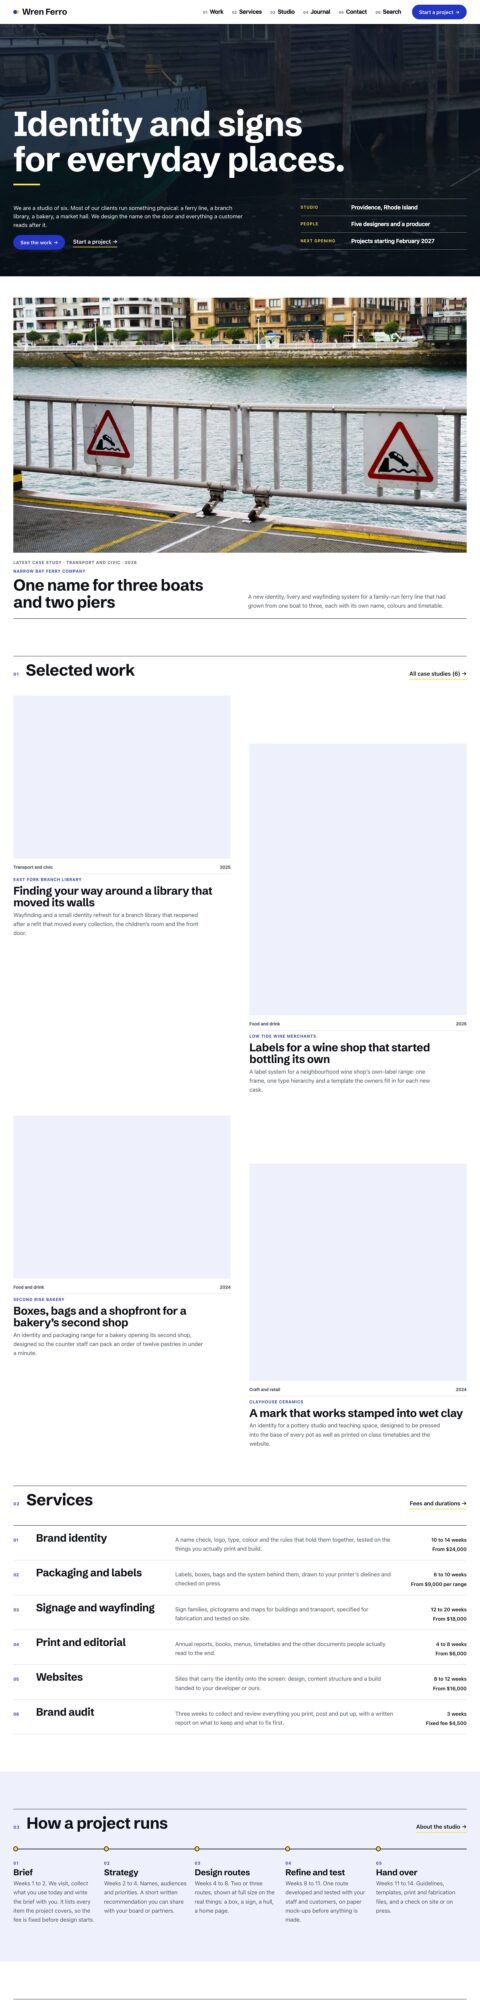 BriefAgency sites with detailed case studies
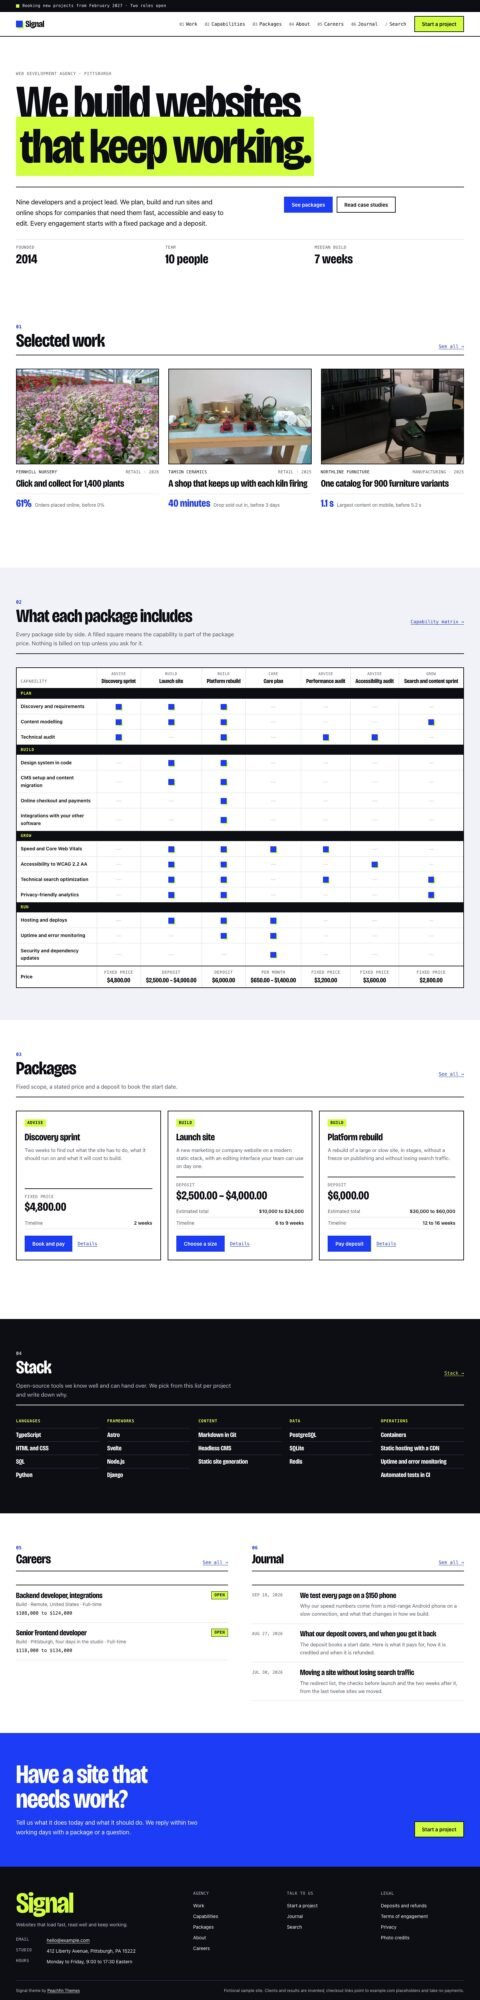 SignalAgency sites with service packages
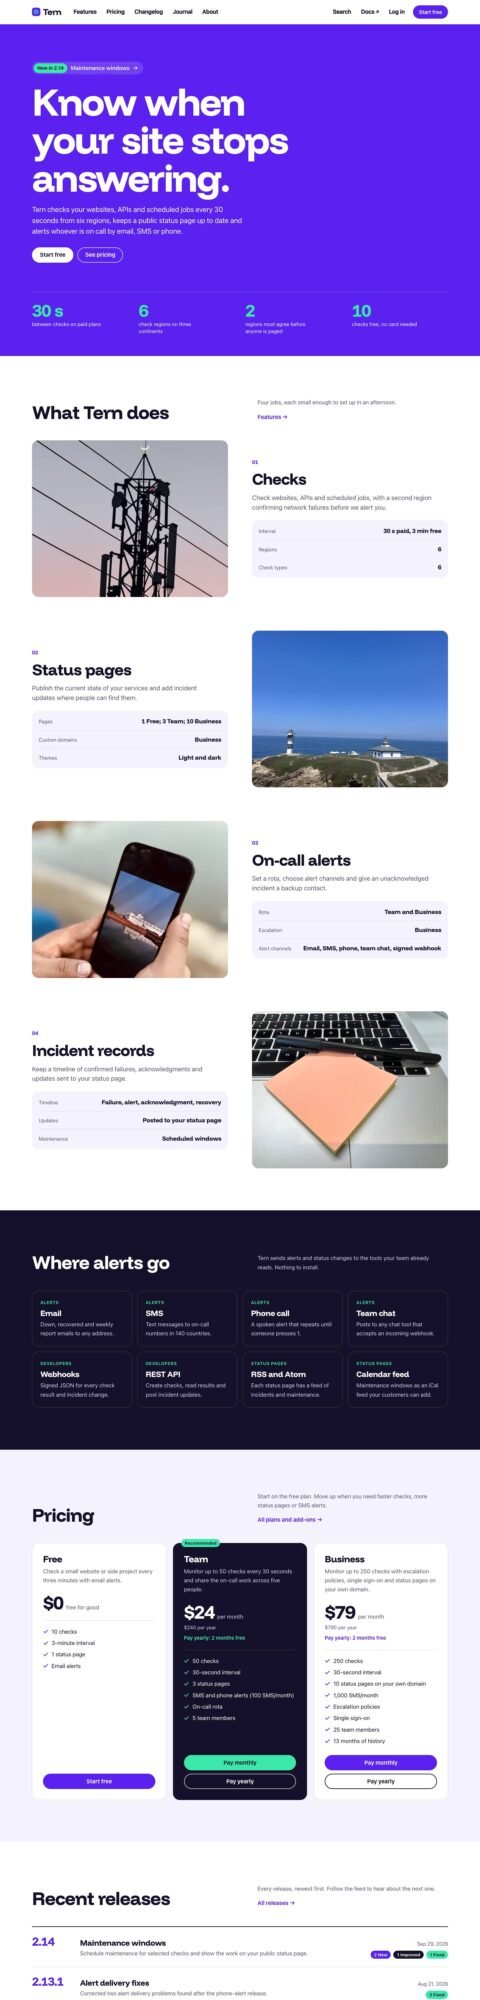 SpecProduct sites with features and plans
Events, hospitality, courses and local services
Lineup is for festivals and artist profiles; Programme is for conference schedules and speakers. Mise presents restaurant menus, Corner suits cafés, and Syllabus presents courses and lesson previews. Chair, Plumb Line and Practice cover salon services, local service areas and clinic profiles.
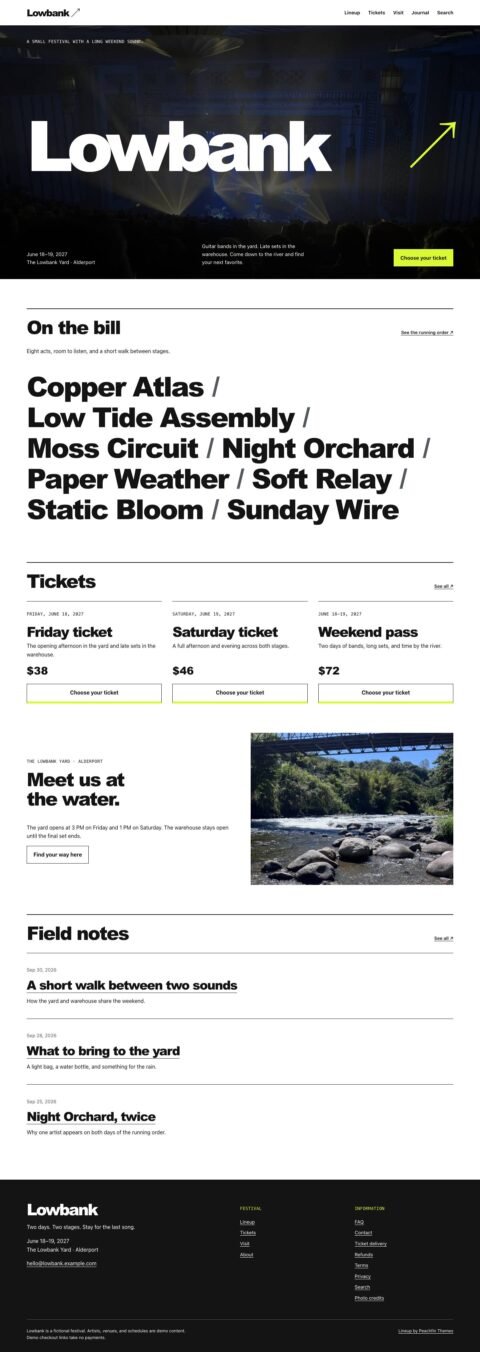 LineupFestival sites with artist profiles
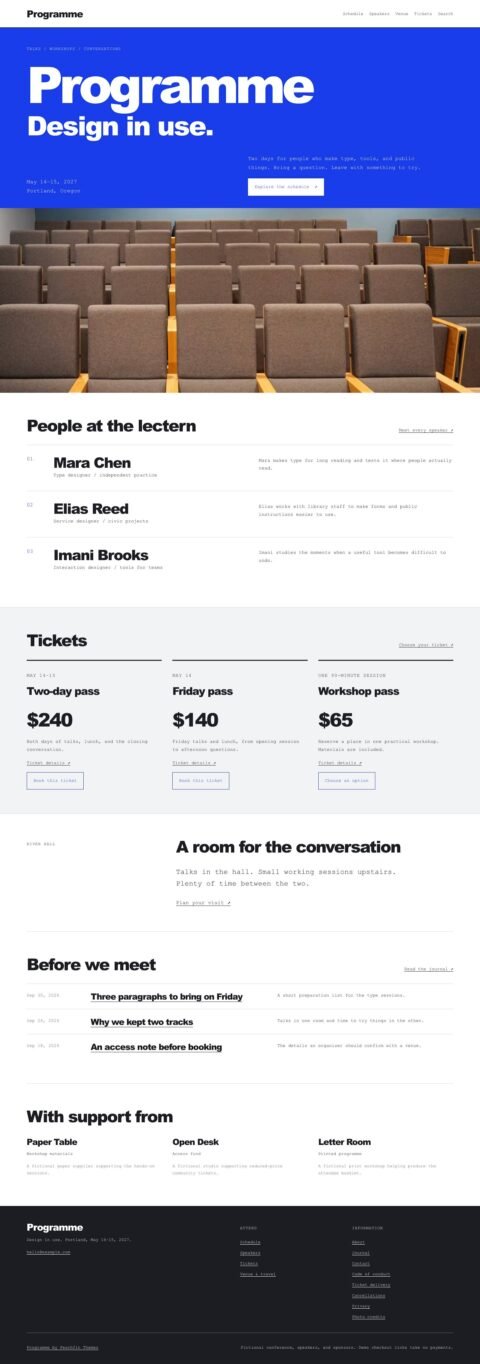 ProgrammeConference sites with schedules and speakers
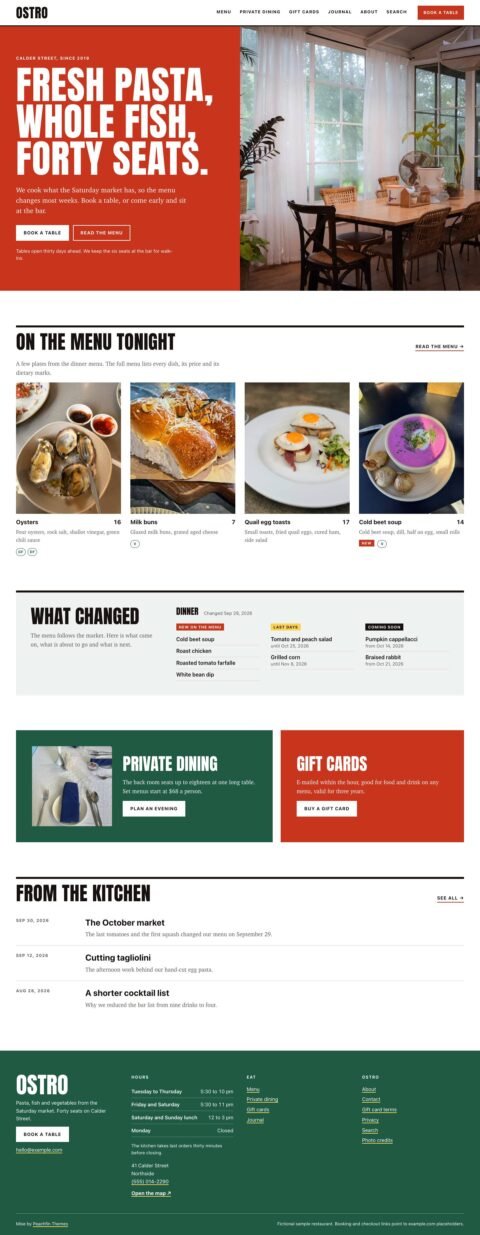 MiseRestaurant sites with menus and bookings
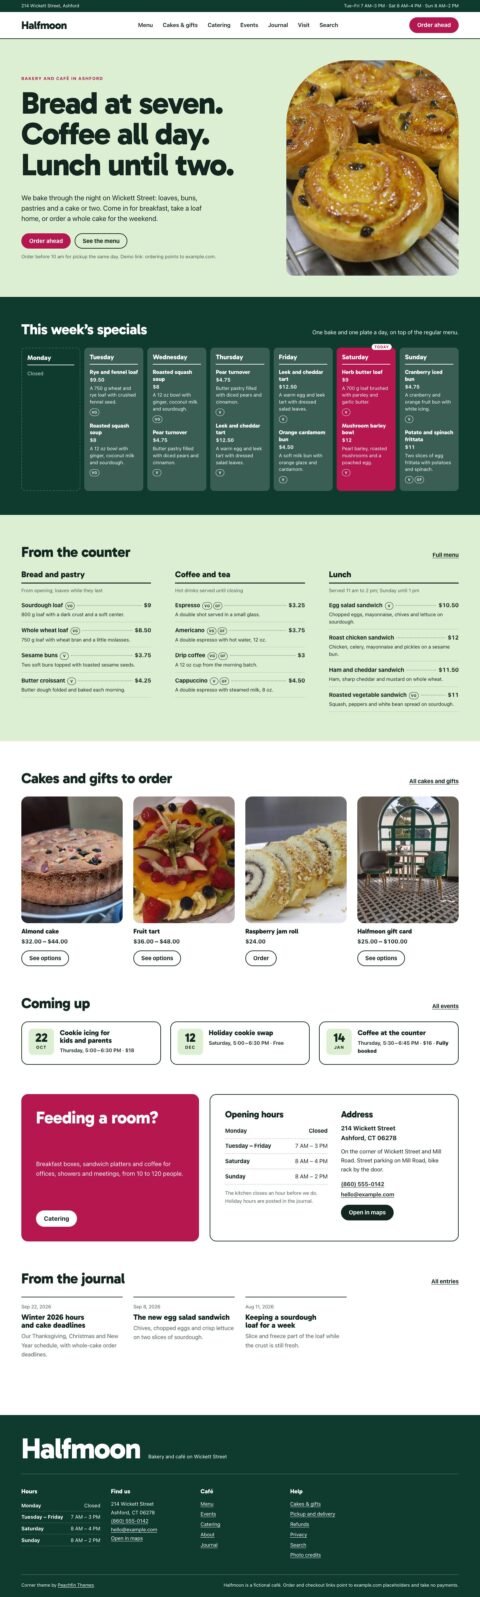 CornerCafé sites with specials and events
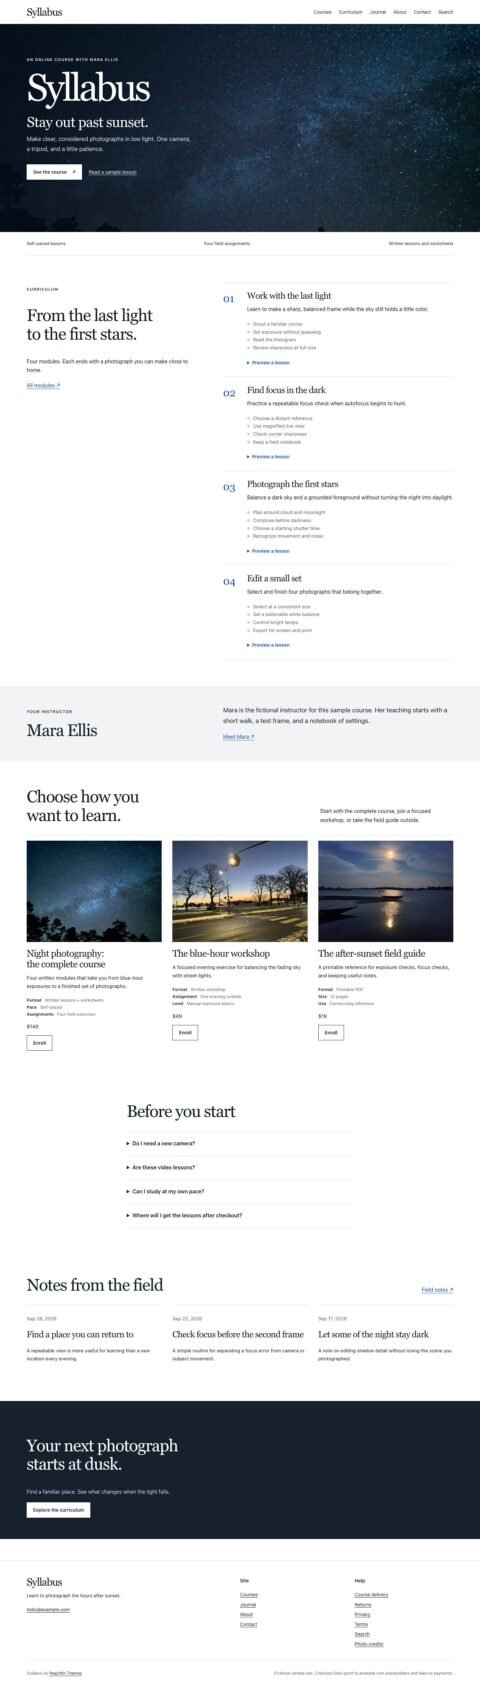 SyllabusCourse sites with curriculum and lesson previews
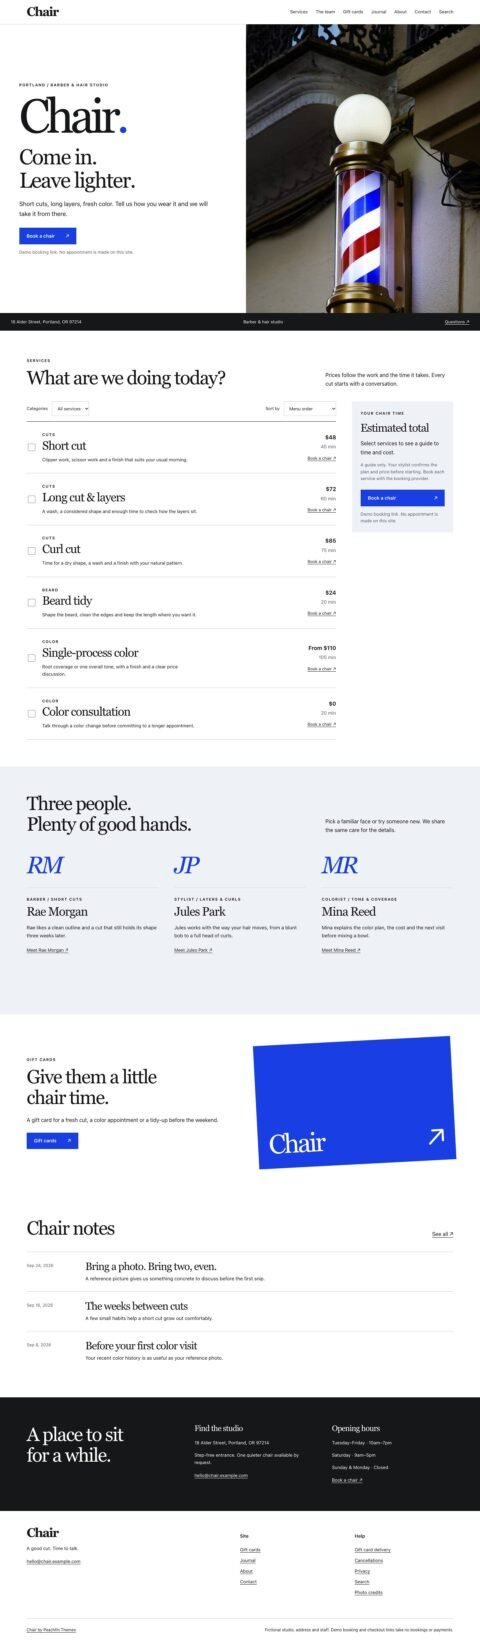 ChairSalon sites with services and appointments
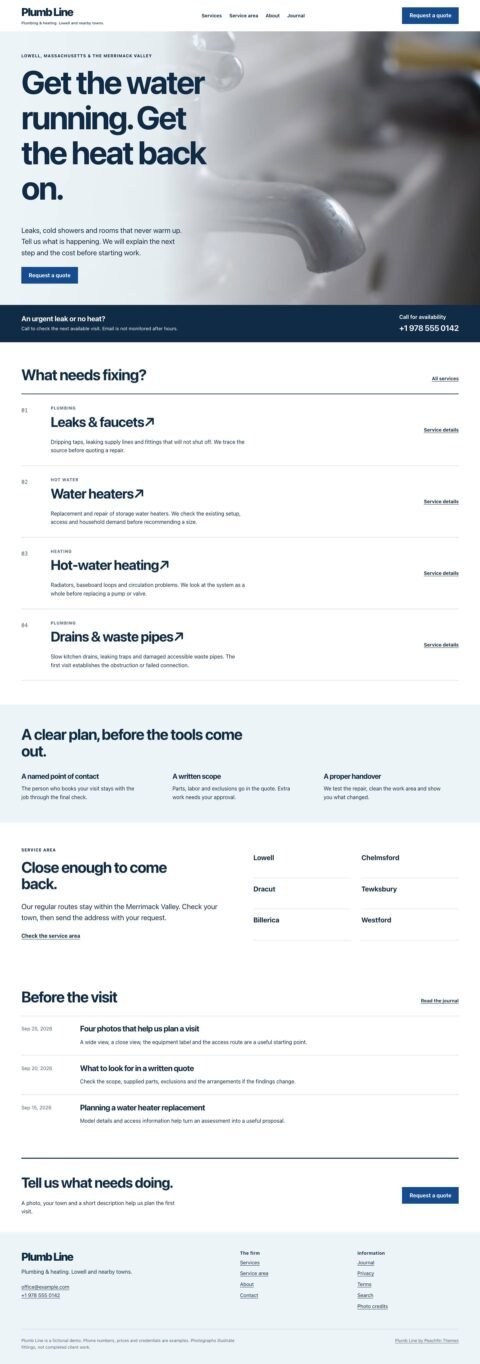 Plumb LineLocal service sites with service areas
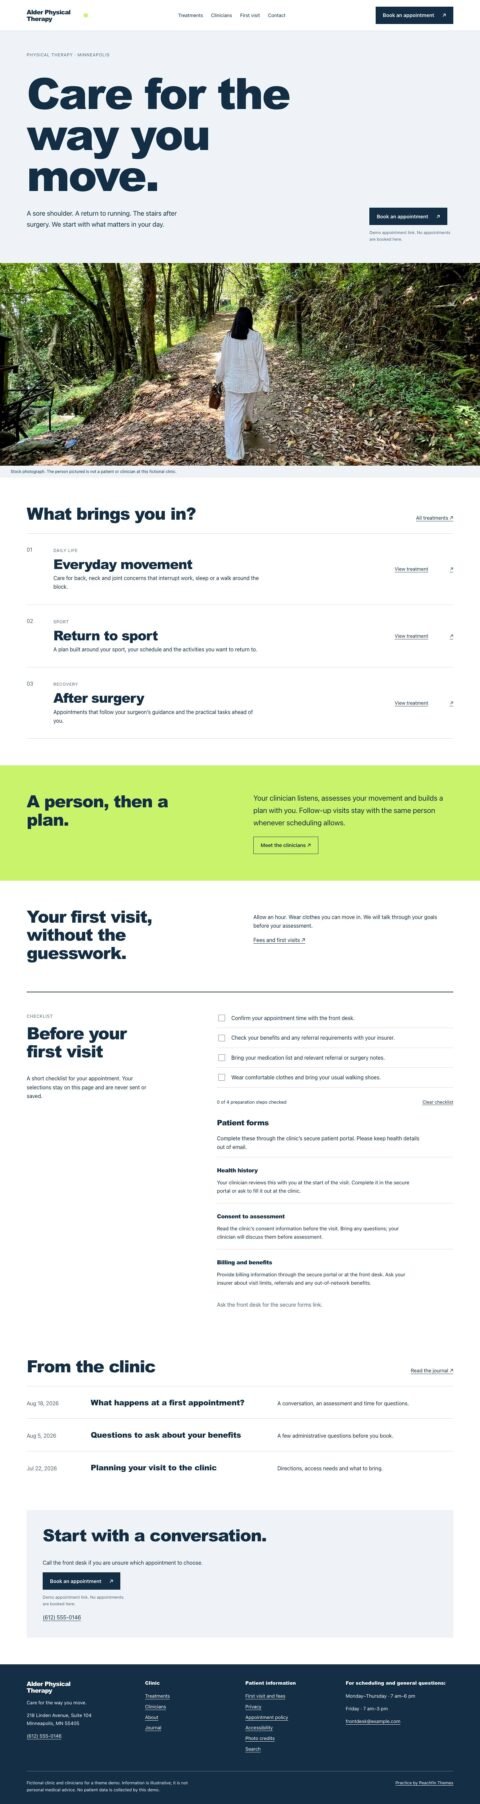 PracticeClinic sites with treatments and clinician profiles
Stores and product catalogues
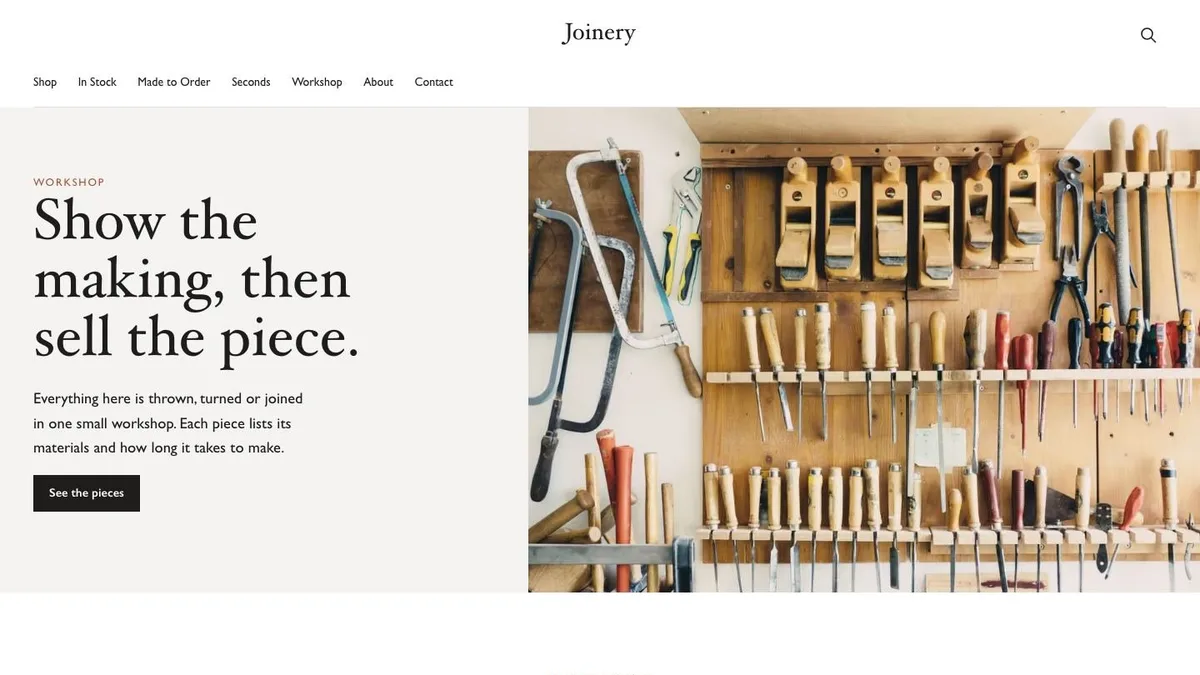
Joinery is for furniture, Solo for a single product, Typecase for fonts and Pressing for records. Fitting Room suits fashion lookbooks, Larder grocery shelves, Proof prints, Tincture skincare and Switchback outdoor equipment. Check the checkout and product requirements as well as the design before moving an existing store.
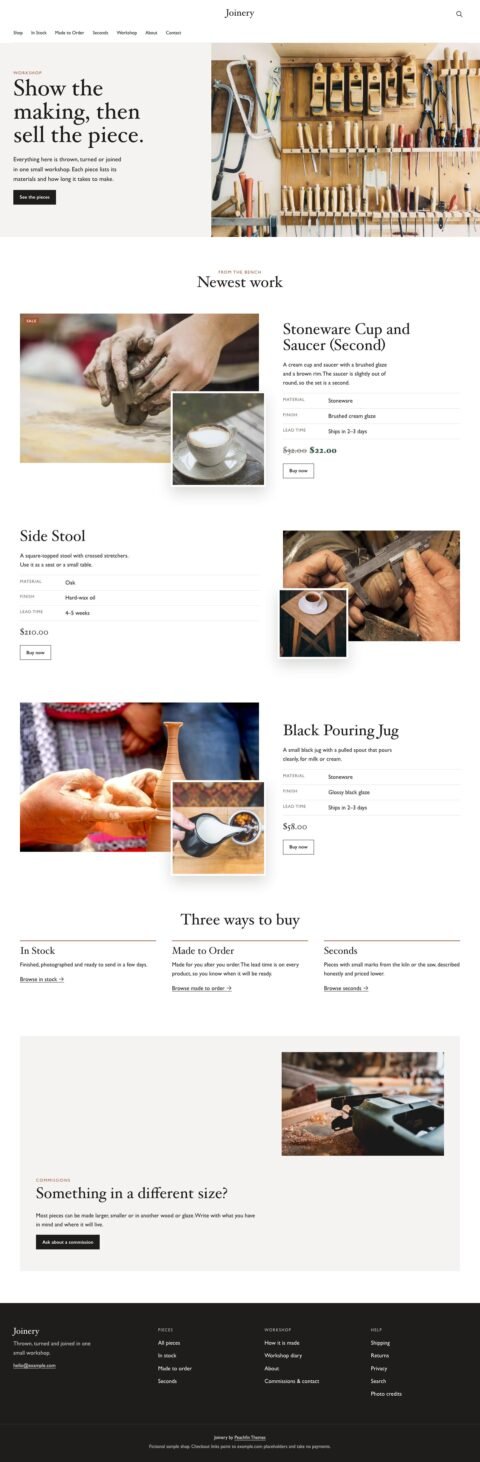 JoineryFurniture shops with detailed product stories
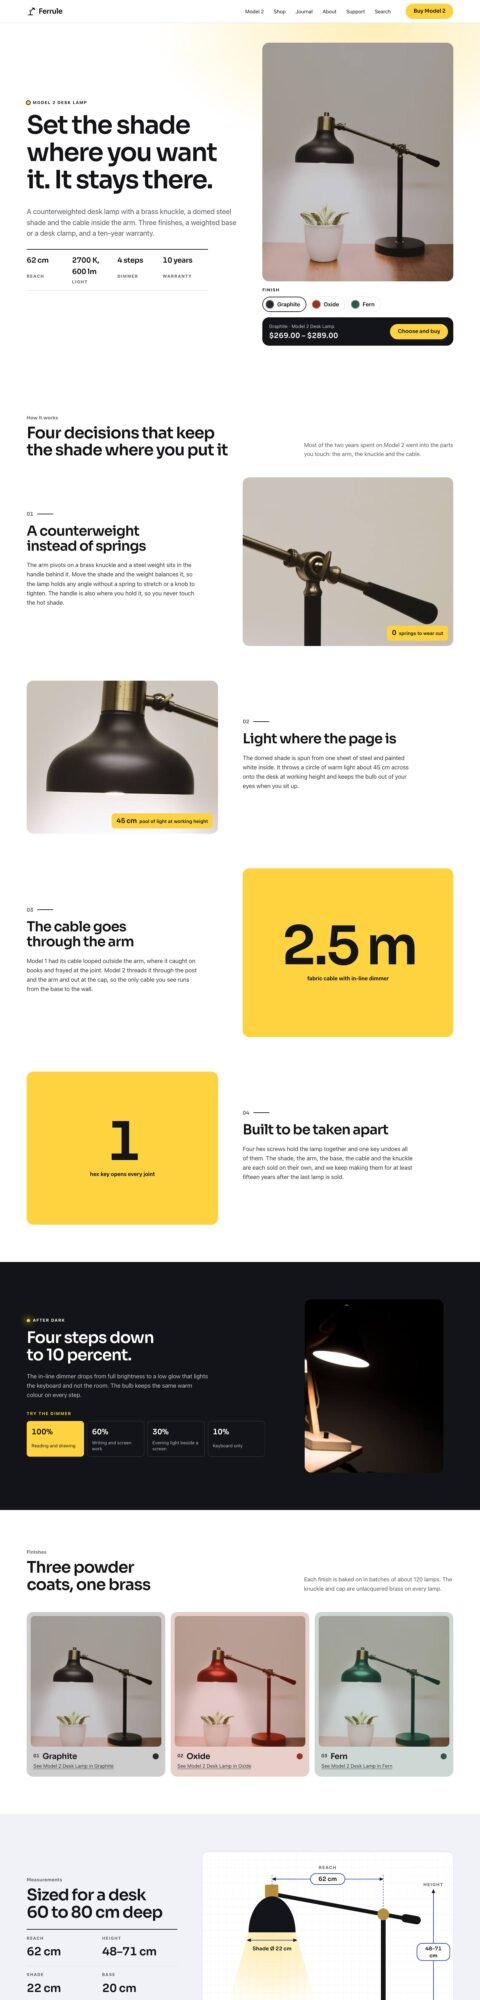 SoloSingle product shops with finish options
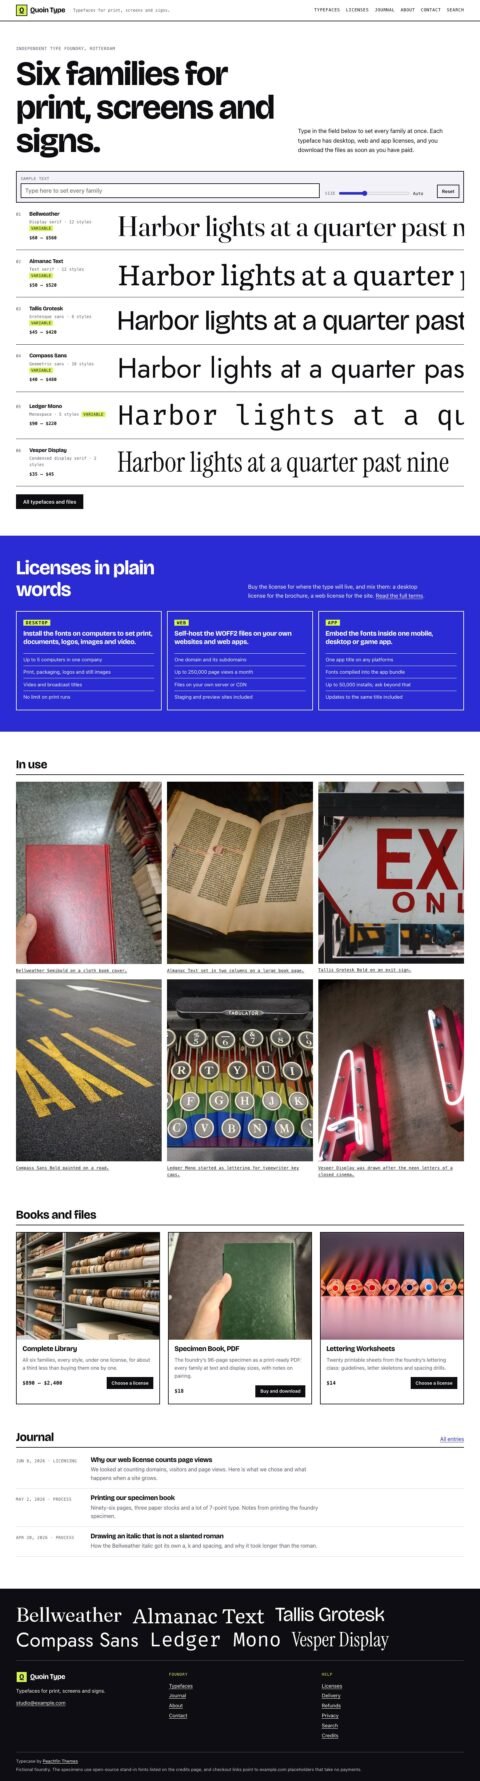 TypecaseType foundries with live font specimens
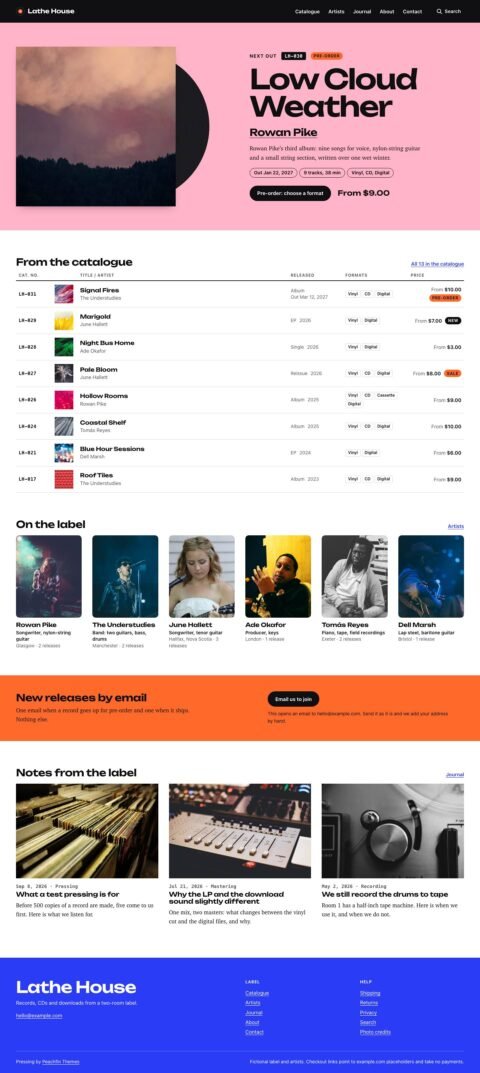 PressingRecord labels and independent music shops
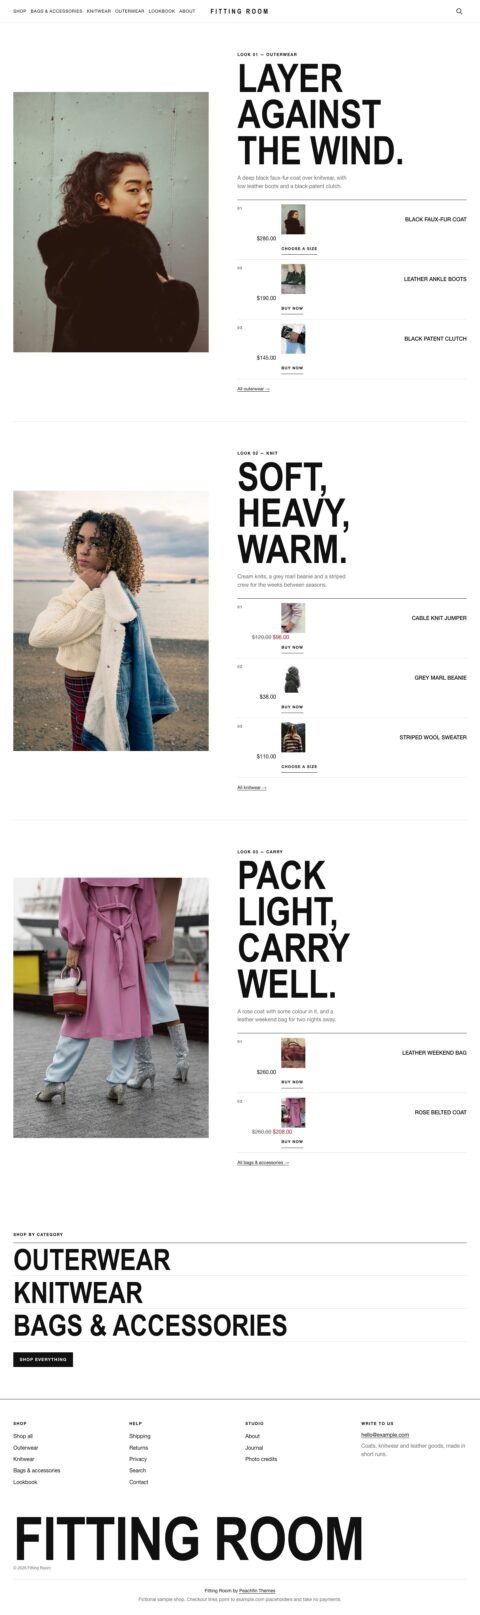 Fitting RoomFashion shops with portrait lookbooks
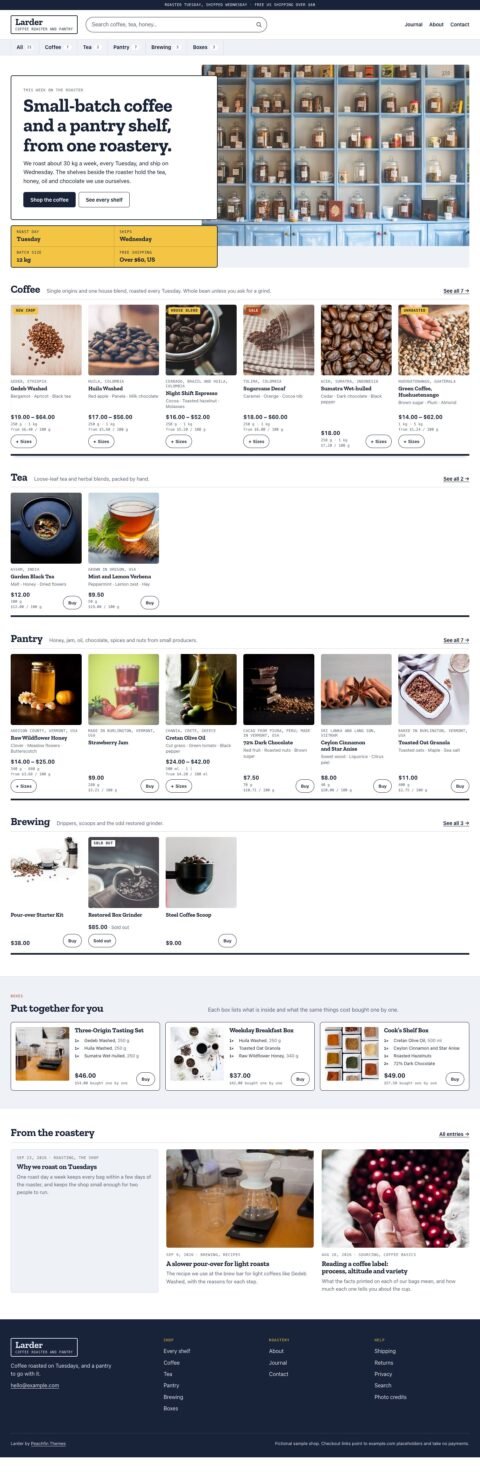 LarderGrocery shops with category shelves
 ProofPrint shops with frame previews
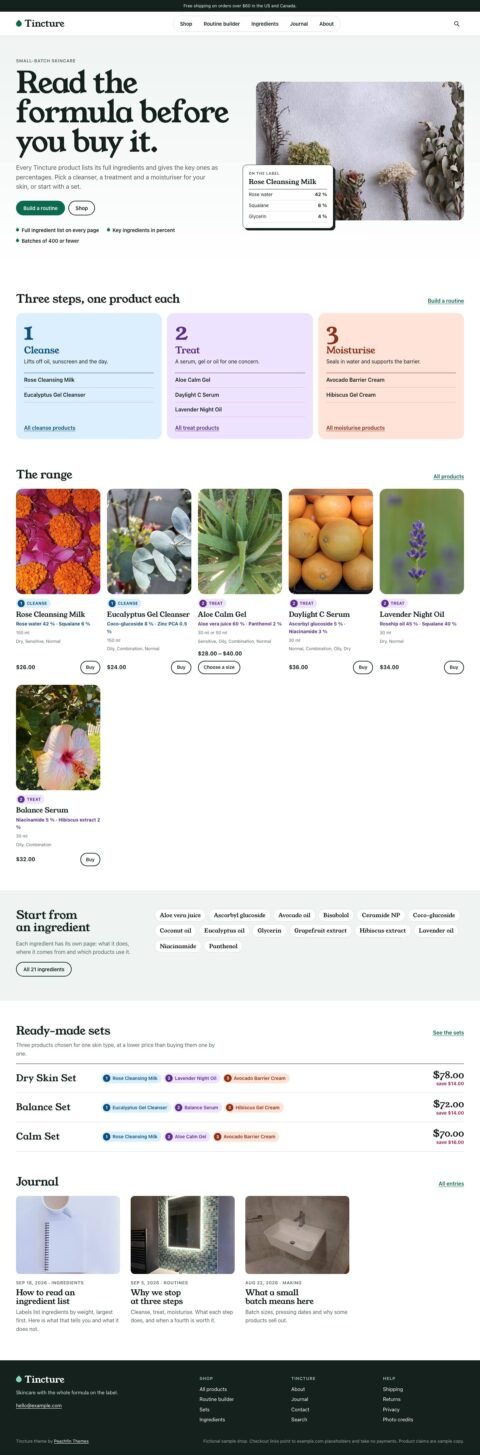 TinctureSkincare shops with ingredient pages

Use EmDash with your theme
EmDash is a content management system that runs inside your Astro site. You edit content through its admin screen at /_emdash/admin.
All 40 Peachfin Astro themes ship as static sites built from Markdown files. You can switch any of them to EmDash using the same setup commands. Browse the Astro themes with EmDash support to choose a theme.
Compare deployment options in our EmDash hosting guide.
Before you start
You need Node.js 22.19 or later on your computer. The documented EmDash tests used Node.js 24.21.0. Open a terminal in your extracted theme folder, where package.json lives.
For a live site, choose a Node.js host or Cloudflare Workers. A Node.js host runs your site’s server process and needs persistent storage for the SQLite database and uploaded files. A Cloudflare account lets you deploy a Worker, with D1 storing content and R2 storing uploads.
The EmDash edition renders pages when visitors request them. Your host must run that server code; a static host alone cannot serve this edition. You can try the Cloudflare edition locally without a Cloudflare account.
Switch with one command
Install the theme’s dependencies first:
npm install
For Node.js hosting, run:
npm run emdash:setup
For Cloudflare Workers, run:
npm run emdash:setup -- --target cloudflare
Setup checks your Node.js version, installs pinned packages for your target, copies the EmDash configuration and content files into place, and changes the content-source import. It also registers the demo seed, which supplies collections, fields, demo entries, photographs, menus, and site settings.
On Node.js, setup loads the seed into data.db and uploads/, skipping that step if the database exists. On Cloudflare, your first admin visit loads it into local D1 and R2 storage under .wrangler/.
Start the development server:
npm run dev
With that server running, open another terminal and run:
npm run admin
This opens a local admin login without requiring a passkey. The live site refuses this development login.
Setup saves replaced files in .emdash-edition/. It stops without changes if you edited a file it needs to replace or already switched the copy to the other target. Use the manual instructions in your download’s EMDASH.md for an edited copy. Repeating setup on the same target leaves it unchanged.
What you edit in EmDash
Your theme’s collections hold its content, such as projects, journal entries, products, and pages. You write entry bodies in EmDash’s rich text editor. Menus control navigation, while Settings lets you change the site title, tagline, header logo, and favicon. Setup starts these with the theme’s demo values; empty settings use the theme’s documented fallbacks.
Other site-wide choices stay in src/site.config.ts, including colors, descriptions, home page wording, section headings, contact details, discovery, and analytics. Bundled home photographs and photo credits continue to use the theme’s asset files. The placement of the tagline and the available menus depend on your theme.
Keep the site’s url in src/site.config.ts equal to EMDASH_SITE_URL. Astro uses that configuration for canonical addresses, the sitemap, and the feed. Content, menu, and supported settings edits appear on the next request. Code and configuration edits require a build and deployment.
Put it online
Node.js host
On your server, install and build, then start the server entry point:
npm ci
npm run build
node dist/server/entry.mjs
Set HOST and PORT as your host requires. Keep data.db* and uploads/ on storage that survives deployments and restarts, and back them up.
Set EMDASH_SITE_URL to your live address. Generate an encryption key with the following command and save it as EMDASH_ENCRYPTION_KEY in your host’s secret settings:
npx emdash secrets generate
Then visit /_emdash/admin on your live domain to complete setup and create your passkey.
Cloudflare checklist
- Set
urlinsrc/site.config.tsandvars.EMDASH_SITE_URLinwrangler.jsoncto your final site address. Keep them identical. Deployment refuses placeholderexample.comaddresses. - Sign in to Cloudflare:
sh
   npx wrangler login
- Review the D1 database and R2 bucket names in
wrangler.jsonc. The first deployment creates them if needed, along with the adapter’sSESSIONKV namespace for sign-in sessions. Later deployments reuse them by name. - Generate and store the encryption key:
sh
   npx emdash secrets generate
   npx wrangler secret put EMDASH_ENCRYPTION_KEY
Keep a separate copy of the key. Database backups do not include it.
5. Decide whether you need an R2 public URL. Uploads normally come through the Worker. If you connect a custom domain to your bucket, set publicUrl in the R2 configuration in astro.config.ts. Keep the backups/ prefix off that public domain because the bucket also contains automatic backups.
6. Optionally enable the KV object cache:
sh
   npx wrangler kv namespace create CACHE
Add the returned ID to the commented cache binding in wrangler.jsonc, then uncomment that binding and both kvCache lines in astro.config.ts.
7. Build and deploy:
sh
   npm run emdash:deploy
- Add your custom domain through the
routesconfiguration inwrangler.jsoncand deploy again. The domain must be active in the same Cloudflare account. - Open
/_emdash/adminon your final domain. Complete the wizard, choose sample content if wanted, and create your passkey there. Passkeys are tied to the address where you create them. -
Check a page, sign in, upload a photograph, and inspect the scheduled publishing trigger:
sh
npx wrangler tail
Plugins
Registry plugins require a one-time sandbox setup for each site. On Node.js, you install the sandbox packages and add one configuration line. On Cloudflare, you add the Worker Loader binding, which requires the Workers Paid plan.
Follow the EmDash website setup guide for those steps. You can also consult the EmDash documentation.
Browse the EmDash plugin directory for extensions and installation requirements.
Store themes: Joinery and Fitting Room
Your checkout links work the same after switching. Both themes include their optional Stripe cart in the Node.js and Cloudflare EmDash configurations. Enable it through commerce.cart.enabled, supply your Stripe secret key, and configure the products as described in the Astro store theme setup guide.
On Cloudflare, store the cart’s key with:
npx wrangler secret put STRIPE_SECRET_KEY
On Node.js, use your host’s secret settings. The cart comes from the theme; EmDash itself supplies no cart.
Switch back
npm run emdash:revert
Revert restores the files saved during setup and returns your content source to Markdown. It keeps your EmDash database, uploads, local Cloudflare data, deployed Cloudflare resources, and installed packages. It refuses to overwrite copied files you edited after setup.
Your EmDash edits are not exported to Markdown. The original Markdown files remain as they were before switching.
Tested with EmDash 1.2
All 40 Peachfin Astro themes are tested with EmDash 1.2.0 on Node and on Cloudflare Workers, including uploaded images and video blocks.
Our EmDash 1.2 article documents those theme tests. Follow the EmDash release tracker for version changes and upgrade guidance.
Frequently asked questions
Do you need EmDash to use your theme?
You can keep the default Markdown edition and build a static site. EmDash is installed when you switch.
Does setup import your edited Markdown content?
Setup loads the supplied demo seed. Your Markdown files and EmDash entries are maintained separately after switching.
Can you change hosting targets by running setup again?
Setup refuses a copy already switched to the other target. Revert before choosing the other target.
Should you seed again after editing menus?
Applying the seed again replaces your menus. Use the admin command for later local sign-ins; after setup is complete, it signs you in without seeding.